
Managing a major home transformation requires far more than picking out paint swatches and ordering high-end fixtures. Without a logical construction sequence, even the most well-funded projects can quickly spiral into chaos, leading to damaged materials, trade conflicts, and unexpected budget overruns. Coordinating specialized trade professionals in the correct order ensures that structural groundwork precedes exterior weatherproofing, interior mechanicals are inspected before walls are closed, and outdoor living additions occur before final landscaping. Following a proven timeline protects both your property and your investment from start to finish.
Phase 1: Site Clearing, Architectural Design, and Permitting
Embarking on a comprehensive home renovation requires a disciplined schedule that protects both the structural integrity of the house and the financial budget of the owner. Every successful property overhaul starts on paper long before any heavy equipment pulls into the driveway. During the initial design and permitting phase, property owners must define their scope of work, secure necessary municipal approvals, and hire licensed professionals. Jumping ahead without proper permits or structural assessments often leads to expensive stop-work orders, costly rework, or project delays that cascade through every subsequent stage of construction. Having clear architectural blueprints eliminates guesswork for field workers and keeps inspectors satisfied throughout the build.
Before breaking ground or bringing heavy machinery onto a residential lot, the physical grounds must be prepared and cleared of potential hazards. Hazardous branches, dead roots, and overgrown timber located near structural foundations can interfere with incoming utility lines or threaten new building footprints. Scheduling a professional tree removal service early in the timeline ensures that crane trucks and excavators can operate safely without damaging overhead wires or dropping limbs on existing structures. Clearing overhead obstructions also provides essential staging areas for building materials, dumpsters, and delivery vehicles that will need clear access to the driveway over the coming months.
Once the site is cleared and safe for crew members, homeowners can begin interviewing and selecting experienced remodeling companies to oversee the upcoming architectural transformations. Top contractors evaluate site conditions, review engineering plans, and establish realistic timelines before any physical construction begins. These early coordination meetings allow trade leads to outline their staffing needs, verify lead times for custom materials, and synchronize subcontractor arrivals. Establishing a clear sequence during these preliminary planning stages keeps the entire project running smoothly, preventing scheduling conflicts where different teams end up competing for space on the job site.
Phase 2: Structural Repairs and Building Enclosure
With initial clearing complete and permits firmly in hand, construction moves to the building shell. Protecting a structure from water intrusion and weather damage is the single most critical objective before any interior work takes place. If rainwater leaks into a home while trades are installing drywall, electrical wiring, or hardwood floors, thousands of dollars in new materials can be ruined overnight. For this reason, general contractors always prioritize roof repairs, structural framing updates, and exterior wall cladding before opening up interior spaces or pulling down existing ceilings. A compromised roof or leaking wall frame allows water to rot structural timber, breed mold, and compromise delicate electrical components.
Updating exterior wall systems serves two distinct purposes: it enhances curb appeal while creating an airtight protective barrier against the elements. Installing energy-efficient vinyl siding gives a home a durable exterior finish that resists moisture, wind damage, and insect infestation without requiring continuous painting or heavy ongoing maintenance. Proper installation involves wrapping the building envelope in protective weather barriers, sealing window frames, and securing clean trim pieces. Completing wall cladding early ensures that subsequent trade crews working inside the home remain warm, dry, and protected from sudden downpours or freezing temperatures.
After wall coverings and roofing materials are fully secured, attention shifts immediately to rainwater management systems along the roofline. Coordinating a seamless gutter installation prevents water from pooling around newly poured foundations, eroding topsoil, or seeping into basement walls. Roofers and exterior specialists mount wide gutters, secure sturdy downspouts, and direct runoff safely away from the home structure. Proper drainage keeps the job site clean and prevents muddy, unsafe working conditions for crews handling later phases of construction. Once the exterior shell is completely sealed, interior demolition and framing teams can work safely inside regardless of local weather conditions.
Phase 3: Exterior Construction and Boundary Features
After securing the main house structure, attention shifts to the immediate outdoor surrounding areas. Establishing clear property boundaries and functional outdoor living spaces creates organized work areas and helps protect surrounding properties during heavy renovation work. Exterior construction should always precede detailed ground planting or delicate lawn work so that heavy construction equipment does not destroy fresh sod or newly planted flower beds later in the process.
Constructing major outdoor platforms requires precise excavation, concrete footings, and structural timber assembly. Engaging in a custom deck building project expands usable living space while providing a dedicated outdoor hub for family gatherings and entertainment. Carpenters must dig footings deep below the local frost line, pour solid concrete piers, and secure sturdy joists before laying down composite or natural wood decking. Building these structures while heavy equipment is still active on site allows contractors to move lumber, concrete mixers, and power tools efficiently without worrying about damaging finished turf or decorative gardens. Properly anchored ledger boards and sturdy railings are essential safety components that prevent future structural sag.
Once elevated structures are in place, property boundaries must be secured to control site access, maintain privacy, and define the edges of the property. Hiring experienced fence installers ensures that post holes are dug accurately along survey lines without disturbing underground utility lines or irrigation pipes. A well-built perimeter fence keeps children and pets safe, establishes clear privacy zones, and shields neighboring properties from construction debris. Erecting property fences at this point in the schedule provides a neat, controlled perimeter before fine grading crews arrive. Additionally, having boundaries clearly established prevents accidental trespassing or disputes regarding material storage on adjacent lots.
Phase 4: Demolition, Framing, and Mechanical Rough-Ins
With the exterior structure completely sealed and perimeter features defined, the primary focus transitions to interior transformations. The interior phase begins with controlled demolition, where workers remove outdated drywall, old cabinetry, worn flooring, and outdated mechanical fixtures. Hauling away unwanted materials creates a clean slate for structural alterations, such as removing non-load-bearing walls or framing new room layouts. Clearing out decayed wall studs, rusted piping, and outdated wiring gives construction crews a clean foundation on which to construct updated floor plans.
Interior layout updates often center on the high-value living spaces that dictate daily routines and home functionality. High-end kitchen and bathroom remodeling requires meticulous coordination between multiple trades, including plumbers, electricians, and HVAC technicians. Plumbers must route water supply lines and drain pipes inside open wall cavities before any drywall goes up. Simultaneously, electricians run wire harnesses, set junction boxes, and prepare dedicated circuits for modern appliances and updated lighting fixtures. Mechanical inspectors must review and approve all rough-in work while wall studs remain fully exposed, ensuring that every wire, pipe, and duct meets local building codes.
Proper sequencing during rough-in construction prevents costly delays and trade overlap. Electricians and plumbers need clear, unhindered access to open framing studs so they can drill holes and anchor conduit cleanly. Trying to rush finishes before completing mechanical rough-ins inevitably leads to cutting open fresh drywall to fix overlooked wiring or leaking pipes. Once inspector sign-offs are officially logged in the project record, insulation crews can fill wall cavities, soundproof bathroom partitions, and seal vapor barriers properly. This critical step prepares the home interior for hanging drywall, taping joints, and applying smooth plaster finishes across every living area, bringing the space one step closer to completion.
Phase 5: Interior Finishes, Surfaces, and Cabinetry
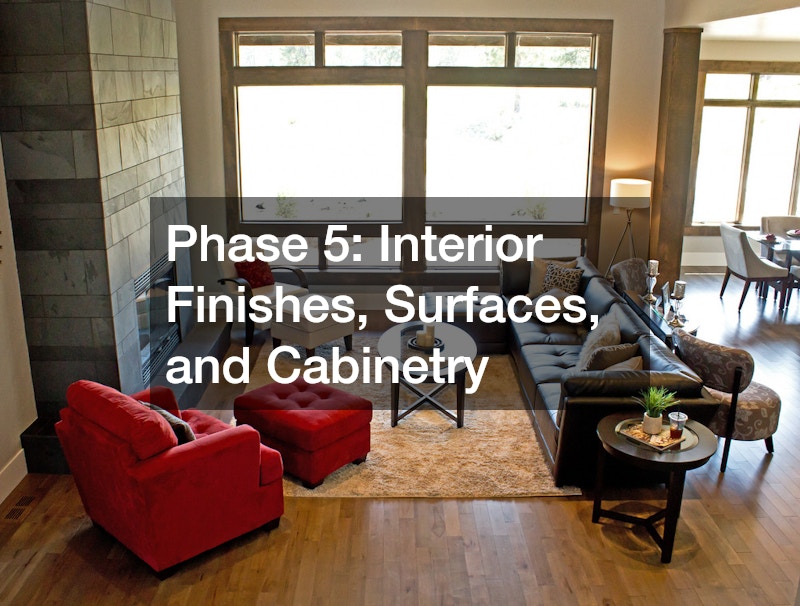
Hanging and finishing drywall transforms open structural framing into recognizable room shapes. Drywall installers hang heavy panels, apply joint compound, sand surfaces smooth, and coat walls with protective primer. Skilled tapers apply multiple coats of mud, sanding between each layer to ensure completely seamless transitions before primer touch-ups. Once walls are primed, interior painters apply baseline coats of color across ceilings and walls before floor installers or trim carpenters begin their delicate finish work.
Installing millwork, cabinetry, and custom fixtures demands extreme precision and clean working environments. Finishing teams fit interior doors, attach baseboards, install crown molding, and set custom cabinetry in place. In complex spaces involving kitchen and bathroom remodeling, precision installation of custom vanity units, stone countertops, tile backsplashes, and under-mount sinks requires absolute alignment. Cabinets must be perfectly level to support heavy granite or quartz slabs without risk of cracking. Tile setters then step in to lay floor tiles, craft custom shower surrounds, and seal grout joints against moisture intrusion.
Managing trade schedules during interior finishing requires careful traffic management inside the home. Top-tier remodeling companies schedule floor installers after messy drywall sanding and initial painting are finished to protect hardwood, tile, or luxury vinyl from fine dust and heavy foot traffic. After floor surfaces are laid, finish carpenters complete baseboard trims and shoe moldings to conceal expansion gaps. Plumbers and electricians return for their final fixtures, installing faucets, shower heads, light switches, cover plates, and decorative chandeliers. A thorough deep cleaning of interior spaces removes fine dust before final paint touch-ups occur across every room.
Phase 6: Landscaping, Grounds Setup, and Final Exterior Touches

With interior living spaces essentially finished, attention moves back outdoors to restore and beautify the surrounding property. Months of foot traffic, construction vehicles, material deliveries, and dumpster storage can compact topsoil, create rutted pathways, and destroy existing grass. Exterior restoration requires a methodical approach that rebuilds soil structure, fixes drainage pathways, and establishes vibrant greenery across the entire yard. Restoring the grounds requires careful attention to soil health, proper grading, and selecting plants that thrive in local climate conditions.
Transforming a torn-up yard into an inviting landscape requires specialized horticultural knowledge and practical earth-moving skills. Partnering with a skilled landscaper allows homeowners to design functional garden beds, choose climate-appropriate shrubs, and install efficient automated irrigation systems. Heavy equipment operators perform final grading to ensure rainwater flows away from building foundations and toward established municipal storm drains. Planting shade trees, ornamental bushes, and perennial flowers adds immediate texture and color to the property, creating a welcoming atmosphere that framing and siding alone cannot provide.
Once permanent plantings and hardscape borders are secured, soil preparation begins for establishing healthy grass across open spaces. Spreading nutrient-rich topsoil, aerating compacted earth, and laying thick turf sod or applying premium grass seed revitalizes the open yard. Establishing routine lawn maintenance schedules immediately after planting ensures proper watering routines, fertilization cycles, and regular mowing as fresh grass takes root. Proper turf care prevents weeds from taking over exposed soil while protecting the investment in new sod. Clean lawn edges adjacent to walkways and driveways frame the completed home architecture beautifully, providing stunning visual appeal from every angle.
Phase 7: Punch Lists, Long-Term Protection, and Maintenance Cycles
As construction activities wind down, the final phase focuses on quality control, inspection sign-offs, and establishing ongoing care protocols. The contractor and homeowner perform a comprehensive walkthrough to generate a punch list of minor items requiring touch-ups or adjustments. Resolving small punch list issues promptly ensures total satisfaction and creates a polished finish across every room. This checklist typically includes paint touch-ups, cabinet hinge adjustments, hardware replacements, and testing electrical outlets and plumbing fixtures. Addressing these minor details ensures that the finished project meets all design standards and functional expectations before final payments are released.
Once the final walkthrough is complete and municipal building inspectors sign off on occupancy certificates, long-term preservation becomes the primary priority. Maintaining a newly renovated home requires proactive habits rather than reactive repairs. Seasonal weather changes, falling leaves, and windblown debris constantly test a building exterior. Hiring a reliable gutter cleaning service twice a year prevents leaves and sediment from clogging downspouts and causing water overflow. Clear gutters allow heavy rainfall to flow safely away from rooflines, fascia boards, and exterior walls, protecting recent investments in exterior siding and foundation waterproofing systems.
Establishing a structured home preservation schedule protects overall property value and ensures that components function efficiently for decades. Homeowners should create annual checklists that cover HVAC filter changes, roof inspections, seal touching, and exterior power washing. Keeping digital logs of equipment warranties, contractor contact details, and paint color formulas simplifies future upkeep. Following a logical sequence during major renovations creates a home that is visually striking, structurally sound, and straightforward to maintain over many years of comfortable living.